Mineral deposits and other materials can collect in your Water Flosser, causing it to lose pressure and effectiveness.
Here are 5 steps for simple cleaning with water, vinegar, and your dishwasher to keep your Water Flosser performing at its best. Complete this process every 1-3 months to ensure optimal performance.
- 1. Clean the outside of the unit
- 2. Clean the water reservoir
- 3. Clean the internal parts
- 4. Clean the handle (countertop models)
- 5. Clean the flosser tip
Step 1: Clean the Outside of the Unit
Clean the outside of the product when necessary by using a soft cloth and mild non-abrasive cleanser.
Step 2: Clean the Water Reservoir

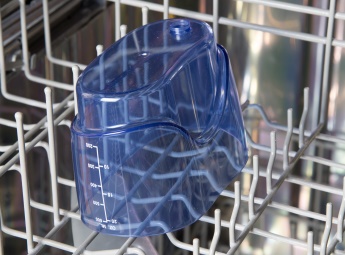
The reservoir is top-rack dishwasher safe.
- Remove the water reservoir from the unit. (Refer to your product manual if you need assistance).
- If using a countertop model that contains a small black reservoir valve, remove the valve by pushing on it from the bottom. Clean the valve by massaging it under warm water for 30-45 seconds and set aside.
- Place the reservoir in the top rack of your dishwasher for cleaning. We recommend air drying instead of a heated dry cycle.
- If you removed a valve, place it back in the reservoir before use. (Dome side up, push in place so the four prongs are visible on the bottom of the reservoir.)
- Reservoirs can also be hand washed with warm soapy water.


